Exo - Distributed AI Cluster
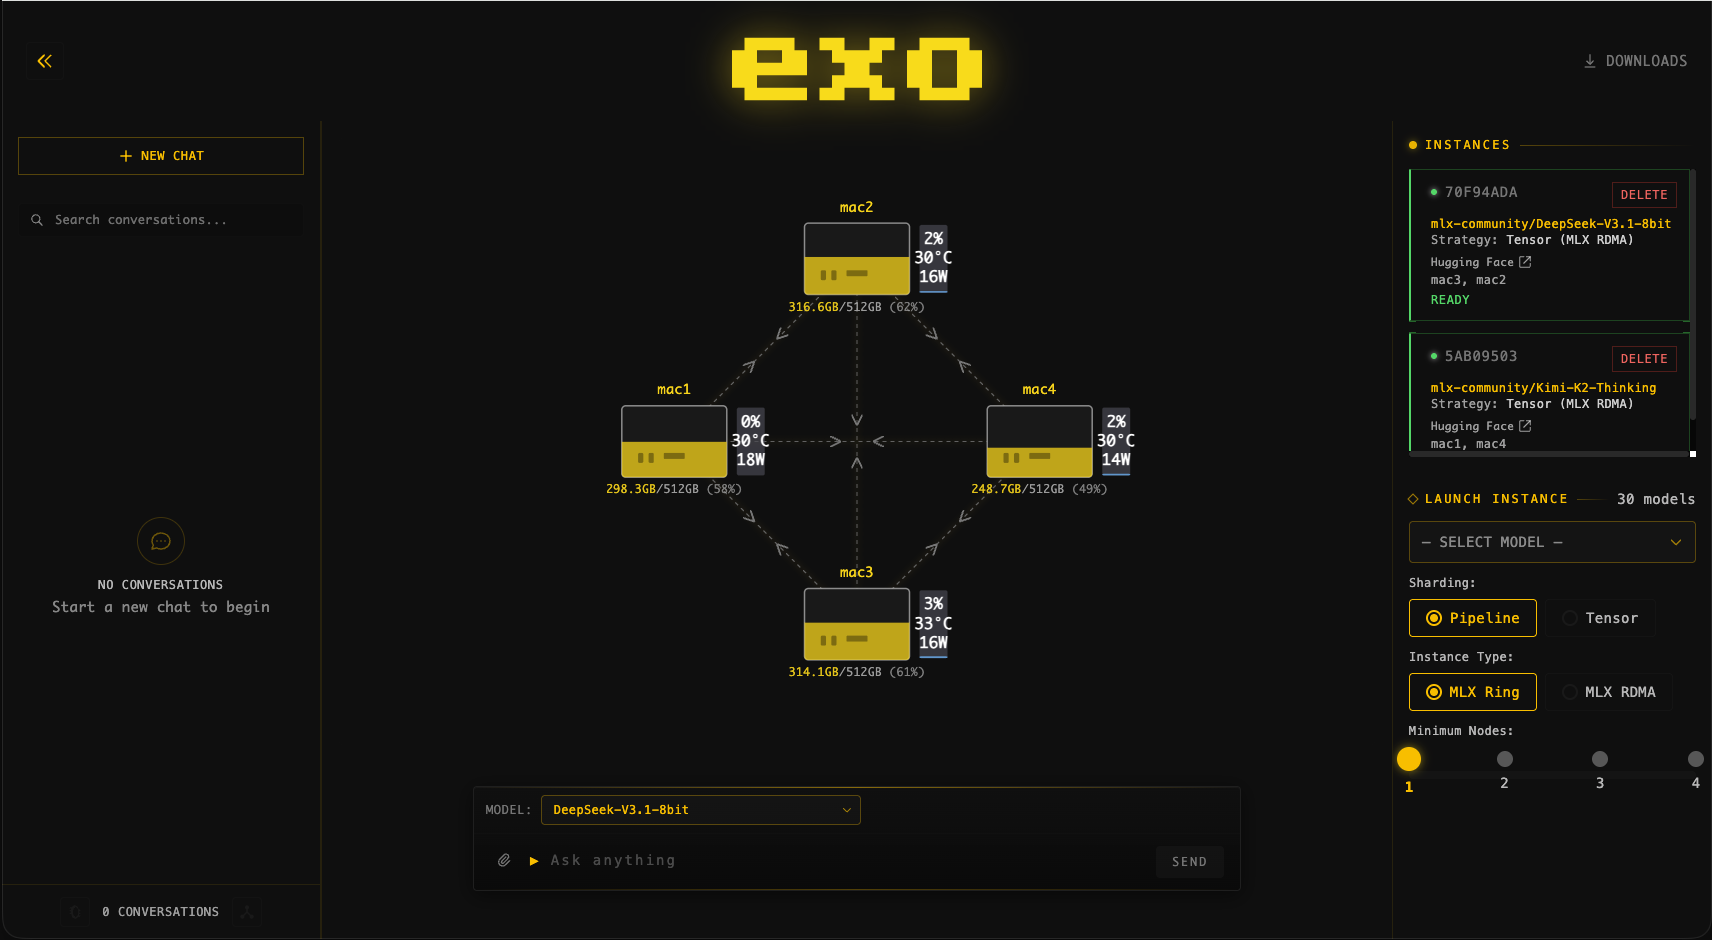
Exo lets you run frontier AI models by clustering multiple devices together. Models that are too large for a single machine get split across your cluster, enabling you to run models like MiniMax M2.5 (173GB) or Llama 3.3 70B locally.
DevoxxGenie integrates directly with Exo, automatically managing model instances so you can focus on coding.
Why Exo?
| Feature | Benefit |
|---|---|
| Distributed inference | Run models too large for any single device |
| Automatic device discovery | Devices find each other without manual setup |
| Thunderbolt / RDMA support | Near-native speed between devices |
| Pipeline & Tensor parallelism | Up to 3.2x speedup on 4 devices |
| MLX backend | Optimized for Apple Silicon |
| No API costs | Run everything locally, privately |
Prerequisites
- macOS Tahoe 26.2+ on all devices
- Apple Silicon Macs (M1/M2/M3/M4 series)
- Thunderbolt cable connecting devices (for best performance)
- Exo installed on all devices in the cluster
Installing Exo
Option 1: Native App (Recommended)
Download the latest EXO-latest.dmg from the Exo releases page. The app runs in the background and includes a web dashboard for cluster management.
Option 2: From Source
git clone https://github.com/exo-explore/exo
cd exo/dashboard && npm install && npm run build && cd ..
uv run exo
Install Exo on every device in your cluster. They will discover each other automatically over the network.
Setting Up Your Cluster
1. Connect Devices
Connect your Macs via Thunderbolt for best performance. Exo also works over regular networking but Thunderbolt provides significantly lower latency.
Example cluster:
- MacBook Pro M4 Max (128GB RAM) + Mac Studio M1 Ultra (128GB RAM)
- Combined: 256GB RAM for model inference
2. Enable RDMA (Optional, for Thunderbolt 5)
For Thunderbolt 5 connections, enable RDMA for maximum performance:
- Boot into Recovery Mode
- Run:
rdma_ctl enable - Restart
3. Start Exo
Launch Exo on each device. Open the Exo dashboard at http://localhost:52415 to verify your cluster:
- All devices should appear in the cluster view
- Thunderbolt connections should show as active
- Device memory and GPU stats should be visible
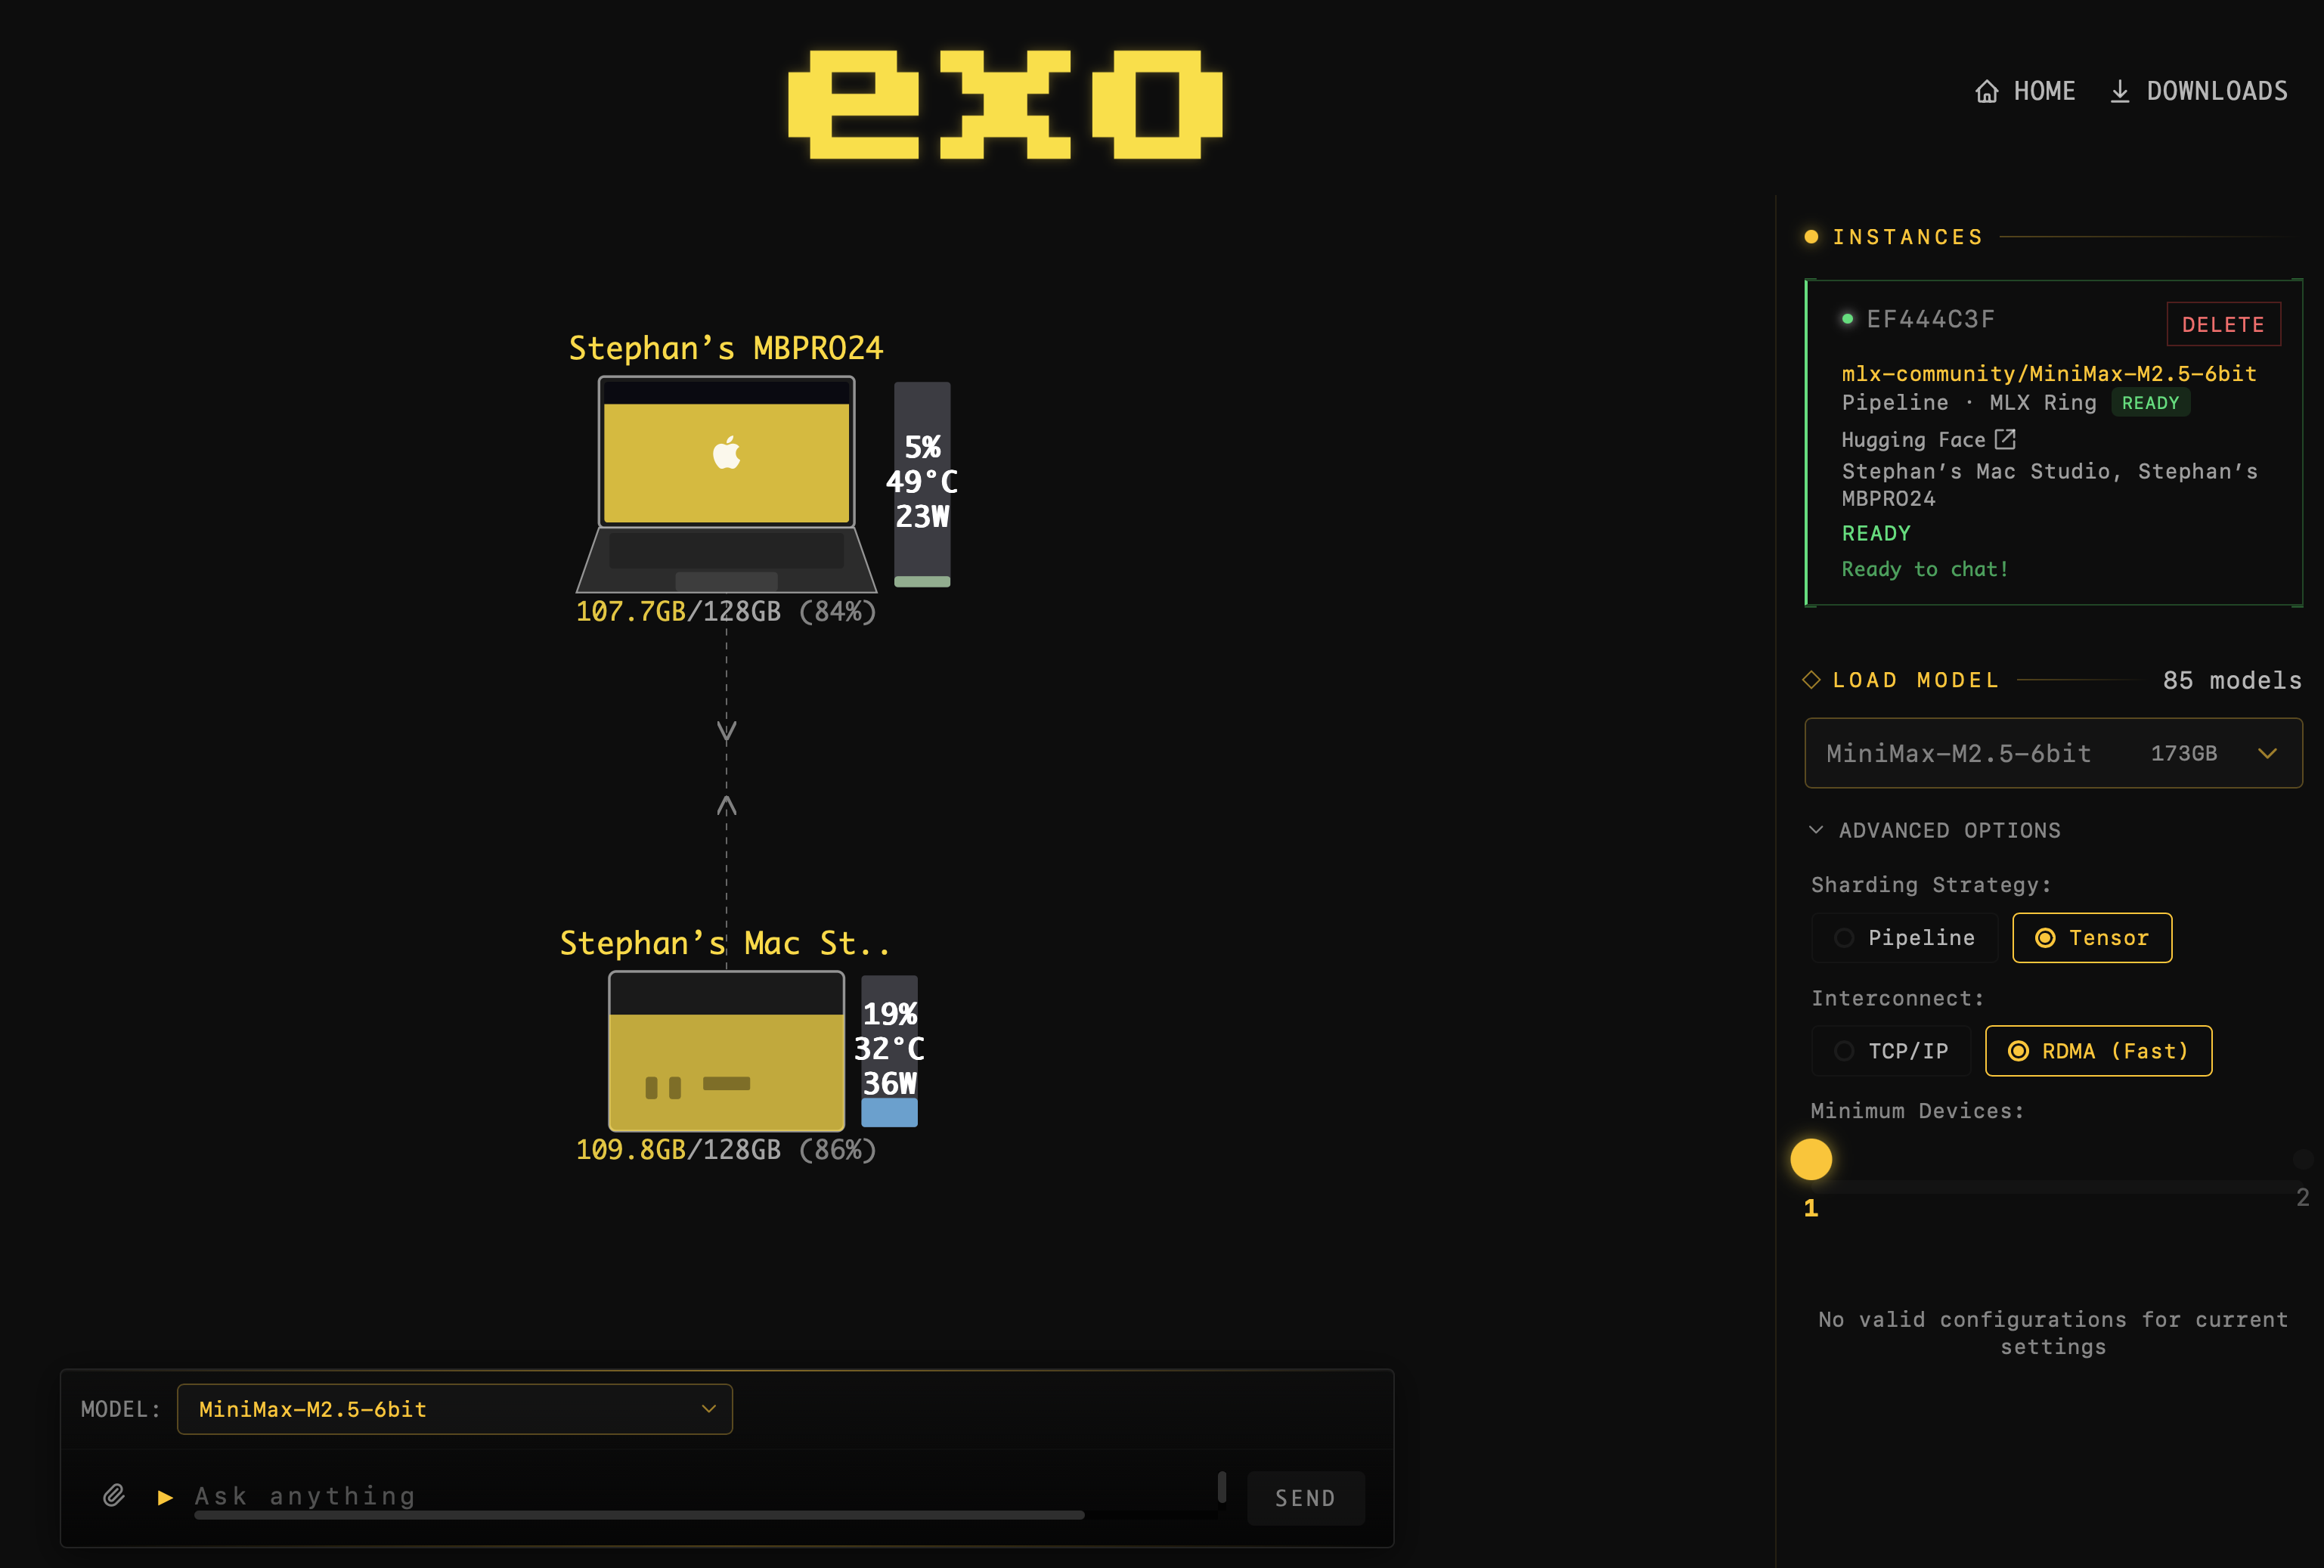
The Exo dashboard showing a MacBook Pro M4 Max and Mac Studio M1 Ultra cluster, with a MiniMax M2.5 instance ready for chat.
4. Download Models
Use the Exo dashboard to download models to your cluster. Models are stored in ~/.exo/models/ on each device.
DevoxxGenie only shows models that are fully downloaded on your cluster. If you don't see a model in the dropdown, check the Exo dashboard to verify the download completed.
Configuring DevoxxGenie
1. Enable Exo Provider
- Open IntelliJ IDEA Settings > Tools > DevoxxGenie > Large Language Models
- Find Exo URL in the Local LLM Providers section
- Enable the checkbox
- Set the URL (default:
http://localhost:52415/v1/)
2. Select a Model
- In the DevoxxGenie panel, select Exo from the provider dropdown
- Choose a model from the model dropdown (only downloaded models are shown)
- A background task will start to prepare the model instance across your cluster
When you select a model, DevoxxGenie automatically:
- Previews placements across your cluster
- Creates an optimal instance (Pipeline or Tensor sharding)
- Waits for all runners to warm up
- Notifies you when the instance is ready

DevoxxGenie shows a progress bar while the Exo model instance is loading across your cluster. The notification confirms the downloaded models are available.
3. Start Chatting
Once the instance is ready (you'll see a notification), you can start chatting with the model just like any other provider.
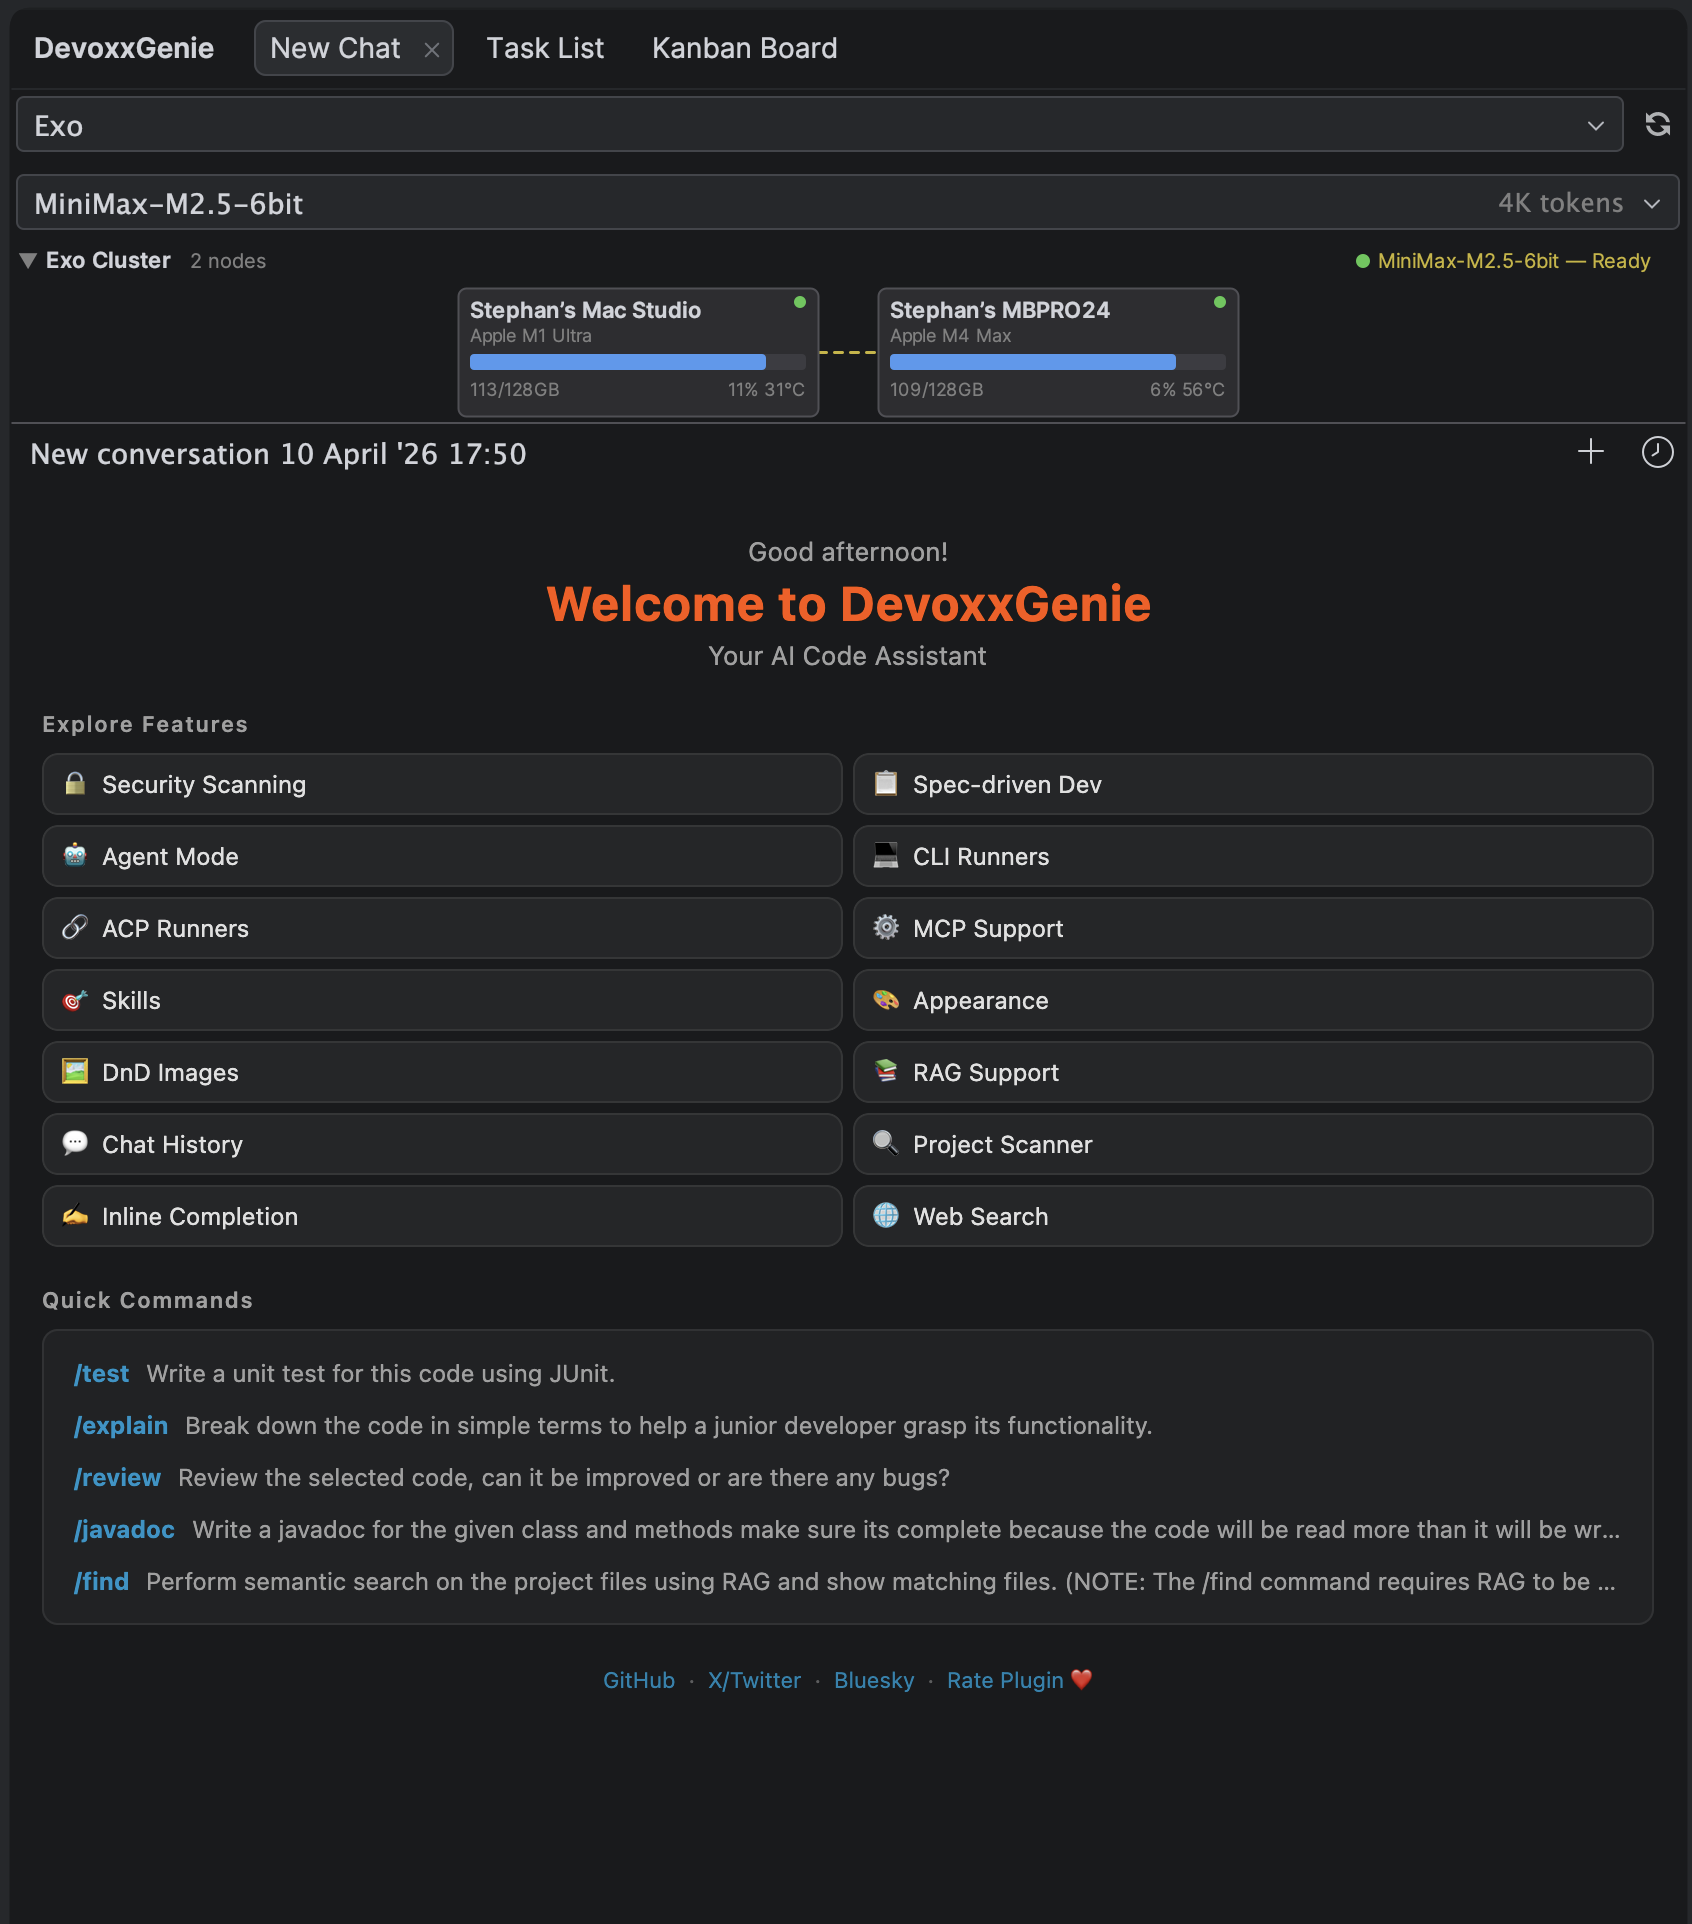
The Exo cluster panel appears above the chat when Exo is selected, showing connected nodes with memory usage, GPU stats, and the active model instance status. Click the header to collapse it.
How It Works
Instance Management
When you select an Exo model in DevoxxGenie:
- Placement preview - DevoxxGenie queries Exo to find how the model can be distributed across your cluster
- Instance creation - The optimal placement is selected and an instance is created
- Model loading - Each device loads its portion of the model into memory
- Runner warmup - The inference pipeline is initialized
- Ready - The model is ready for chat via the OpenAI-compatible API
Automatic Recovery
If the Exo instance disconnects or gets recycled:
- DevoxxGenie detects the disconnection automatically
- A new instance is prepared in the background
- You'll be notified when the model is ready again
Sharding Strategies
Exo supports two sharding strategies:
- Pipeline parallelism - Model layers are split across devices. Device A processes layers 0-30, Device B processes layers 31-62.
- Tensor parallelism - Each layer is split across devices. Both devices process every layer together, achieving higher throughput.
DevoxxGenie automatically selects the best available strategy.
Supported Models
Exo supports any model from the MLX Community on HuggingFace. Popular models include:
| Model | Size | Min Cluster RAM |
|---|---|---|
| Llama 3.2 1B Instruct 4bit | ~1 GB | 8 GB |
| Llama 3.2 3B Instruct 4bit | ~2 GB | 8 GB |
| Llama 3.3 70B Instruct 4bit | ~39 GB | 48 GB |
| MiniMax M2.5 6bit | ~173 GB | 192 GB |
| Qwen3 Coder 480B 4bit | ~276 GB | 320 GB |
Start with smaller models to verify your cluster works, then move to larger ones. The Exo dashboard shows real-time memory usage across your cluster.
API Compatibility
Exo exposes an OpenAI-compatible API at http://localhost:52415/v1/. You can also use it directly with curl:
curl http://localhost:52415/v1/chat/completions \
  -H "Content-Type: application/json" \
  -d '{
    "model": "mlx-community/MiniMax-M2.5-6bit",
    "messages": [{"role": "user", "content": "Hello!"}],
    "max_tokens": 100
  }'
Exo also supports:
/v1/chat/completions(OpenAI format)/v1/messages(Claude format)/ollama/api/chat(Ollama format)- Streaming responses (SSE)
Troubleshooting
No Models in Dropdown
- Exo not running: Verify Exo is running on at least one device (
http://localhost:52415should load the dashboard) - No downloads: Models must be downloaded via the Exo dashboard first
- Wrong URL: Check the Exo URL in settings is
http://localhost:52415/v1/
Instance Creation Fails
- "No valid placement found": Not enough combined RAM across your cluster for the selected model
- "No cycles found": Devices are not connected. Check Thunderbolt cables and that Exo is running on all devices
- Timeout: Large models take time to load. The default timeout is 120 seconds
"Method Not Allowed" Error
The Exo URL must end with /v1/. Update it in Settings > DevoxxGenie > Large Language Models > Exo URL.
Chat Works Once Then Fails
Exo may recycle instances after inactivity. DevoxxGenie will automatically detect this and re-prepare the instance. Wait for the "Instance ready" notification before chatting again.
Slow Response Times
- Use Thunderbolt connections instead of network for lower latency
- Enable RDMA for Thunderbolt 5 devices
- Try Pipeline sharding (default) for single-request latency
- Try Tensor sharding for throughput with concurrent requests
Hardware Recommendations
Minimum Cluster
- 2x Mac Mini M4 (16GB each) - Run models up to ~28GB
Recommended Cluster
- 2x Mac Studio M2 Ultra (192GB each) - Run most frontier models
High-End Cluster
- 4x Mac Studio M4 Ultra (256GB each) - Run the largest available models with tensor parallelism